The Jensen JWM9A has to be one of the most loathsome devices in my RV. In case you aren’t familiar with it, JVC took a very low end auto radio, and mated a huge control panel to make it look impressive, and then sold it an exorbitant price.
As if that wasn’t enough, this was all done like a decade ago and its never been updated, so most of it doesn’t even work. The Bluetooth for instance, is a super old broken implementation that won’t pair with my phone, and the user interface is so befuddling that even an engineer (like me) can’t figure it out without a manual.
So finally, its on the way to the dump!
In its place I installed a basic single DIN auto radio. It could have been most any radio. I really just wanted a basic radio with Bluetooth. That way I can stream Sirius or whatever I’m listening to, as well as enjoying FM. Probably any Single Din Car radio on Amazon would do!
For reference, here is the before picture:
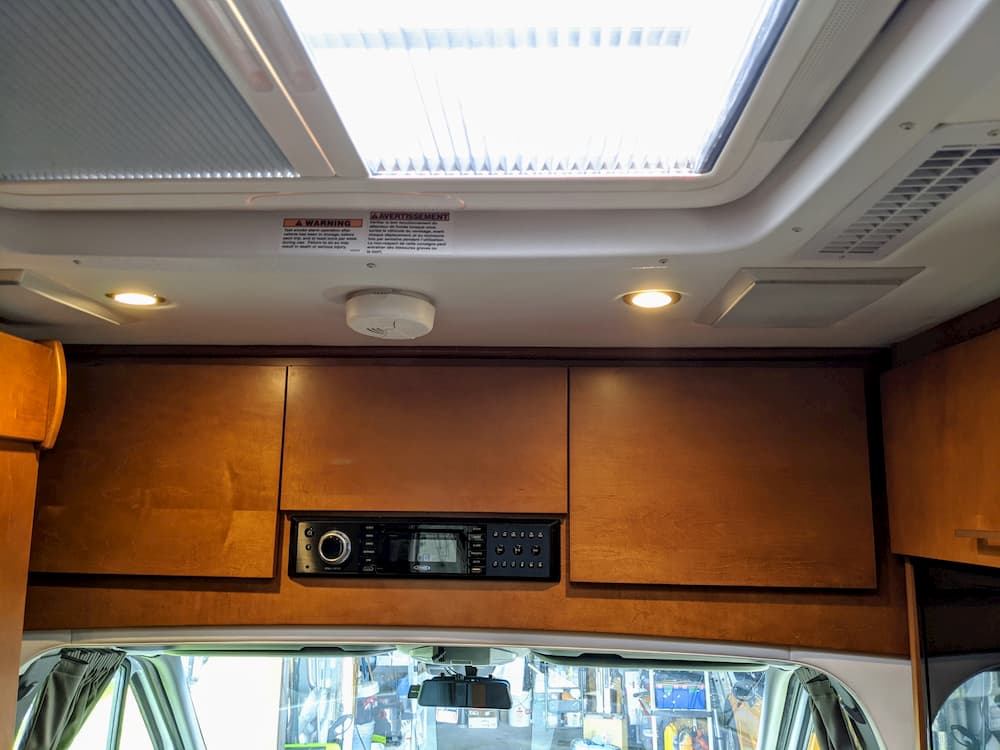
Looks sharp right?
The challenge was to make some sort of a face-plate, and my first thought was to call LTV and order a matching cabinet door, and cut that down to size. Second thought was a piece of aluminum, perhaps covered with abs plastic.
But all that takes time and I wanted it today, so I just used a piece of cherry I had laying around. The stain I used was a bit more rustic. Its OK, but I am not 100% sure I won’t make some sort of more elegant face-plate at a later date.
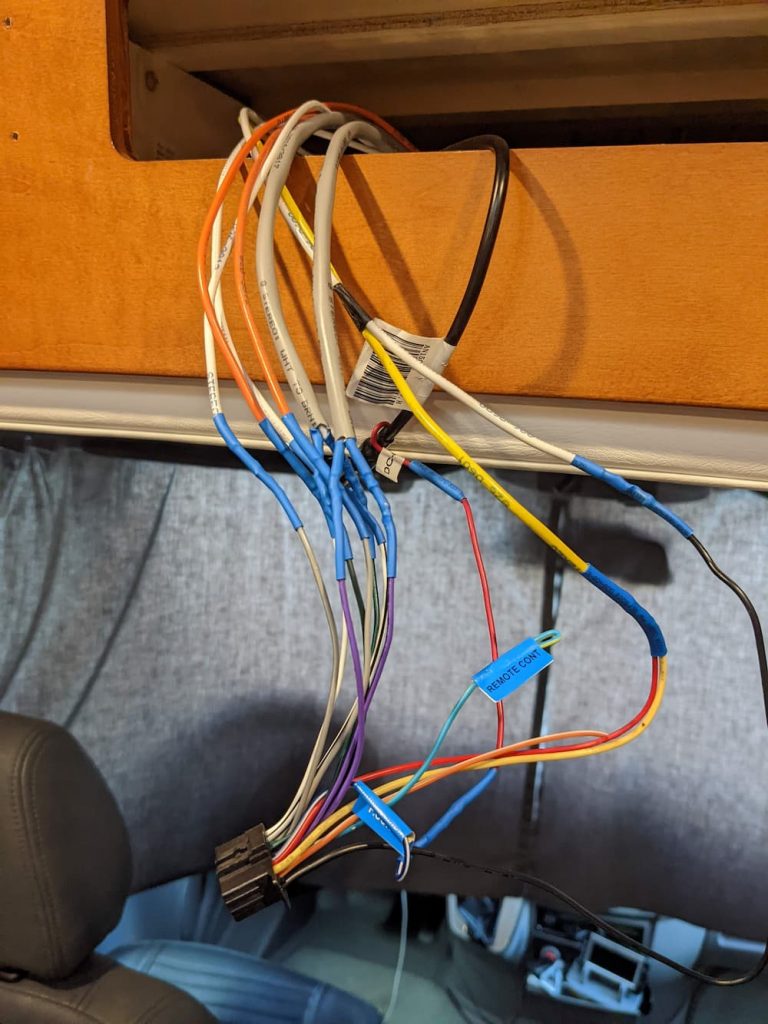
LTV supplies a schematic of the wiring so it was quite easy to adapt the wiring and solder in the new harness, covering the connections with heat shrink:
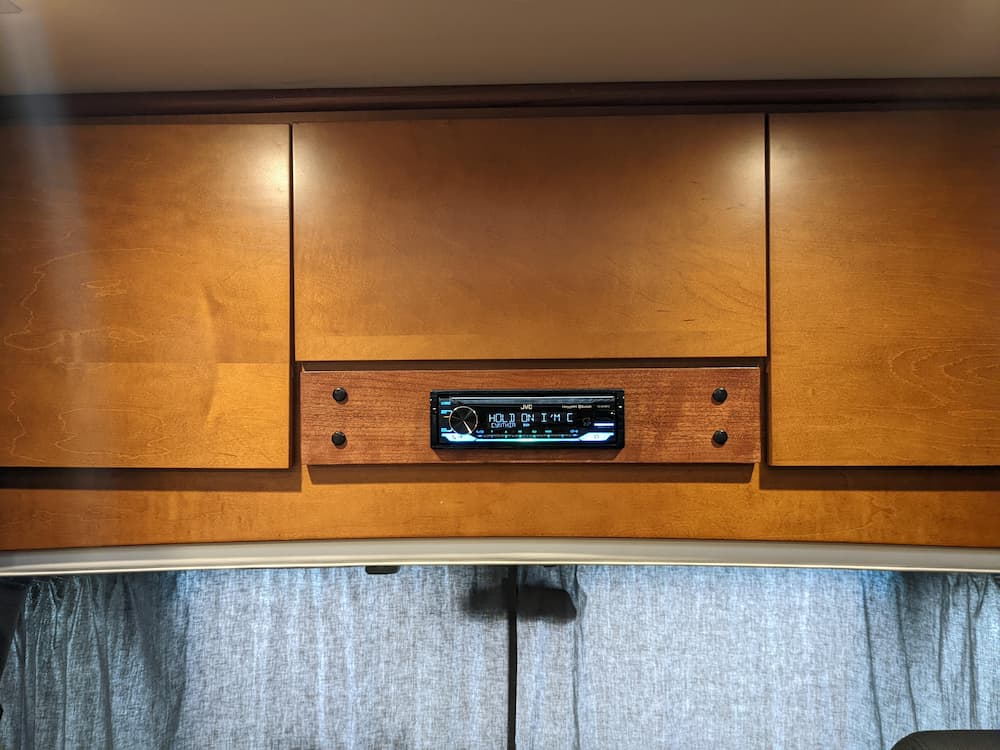
Powered on, and, it works. Bluetooth works as expected, all 4 speakers sound nice, and peace and harmony is restored in the galley. No manual required to fire it up, set the clock, and stream music or play FM.
I didn’t need to even secure the radio. Once I slid it in the hole I cut, the included bracket had enough friction to hold on tightly.
I made sure before I purchased it that it was configurable to always display the clock even when off:
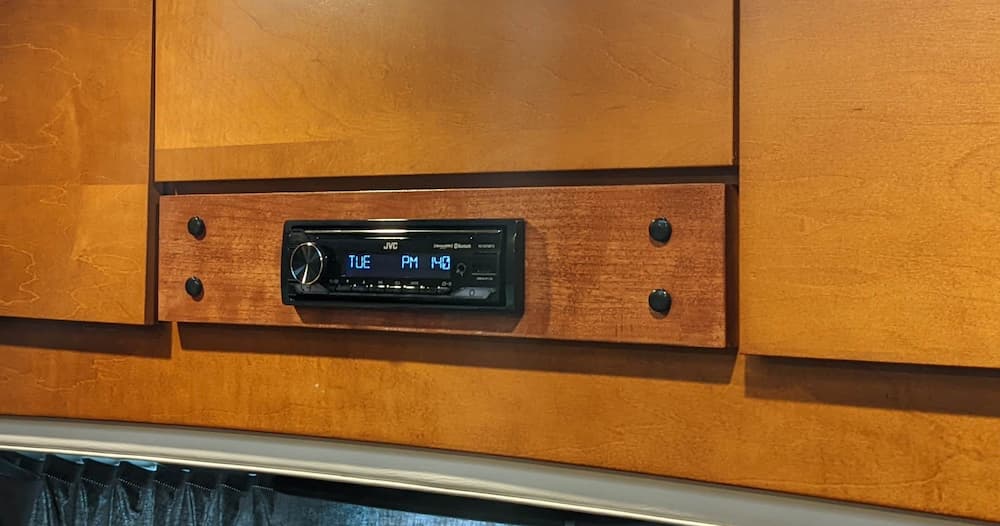
I listed the radio below, and the black caps I used to cover the screw holes.


Leave a Reply