I have had a Starlink Gen 2 – for quite a while – and its been great. I converted it to 12v DC for the RV.
Still, nothing is perfect. Its large and heavy, and I really got tired of lugging it around at every stop in the wilderness. On one or two occasions we even deployed it at rest stops to navigate, and that gets old fast.
The mini is more to my liking. It runs on DC out of the box, is tiny and uses way less power. Its small enough that I have room to roof mount it and eliminate the PIA factor.
But – I wanted the ability to also dismount it in a pinch. Let’s say I stay somewhere for several days under the trees – I am going to want to try moving the Starlink mini around, to maximize my signal.
Luckily, my RV came with a dated junky thing called the Winegard 2, which is an old school WiFi collector and cellular modem with. really bad interface and a limited use case. So when I removed that from my roof years ago I preserved the small 12 volts wires for it. These terminate inside my entertainment center cabinet with a 3 amp fuse.
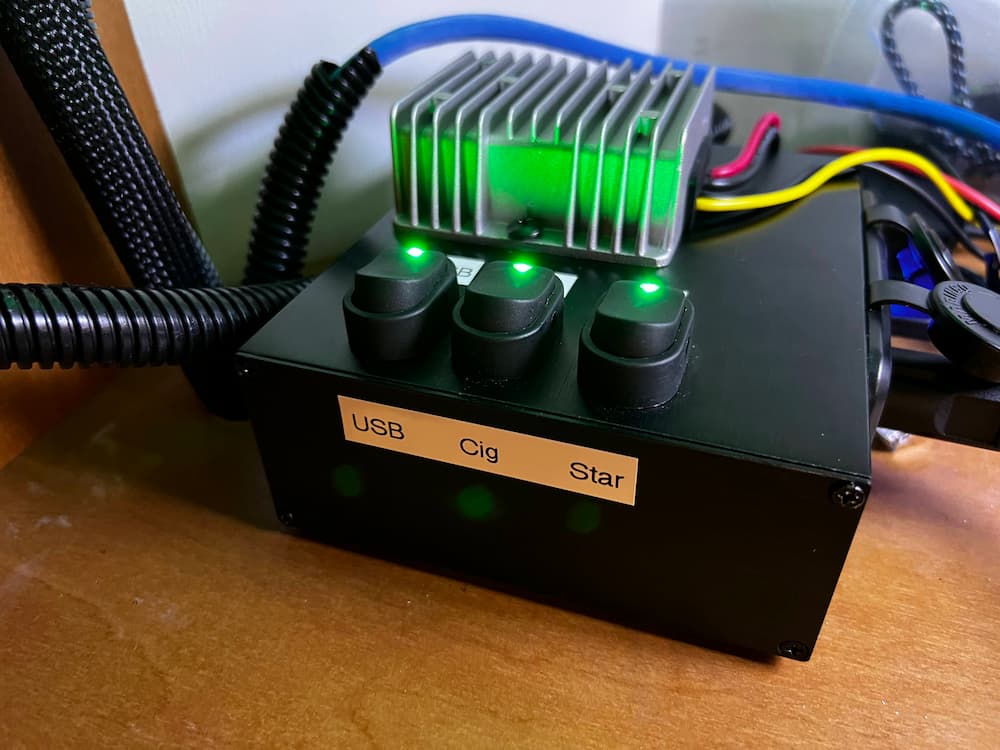
So perfect! Mini seems to like a higher voltage, and thats a long run of wire, so I added a 12 volt to 36 volt buck converter.

I mounted this on a metal box but it also would have fit inside the wire cabinet. I happened to have this box already mounted for the old Starlink so it was just a swap.
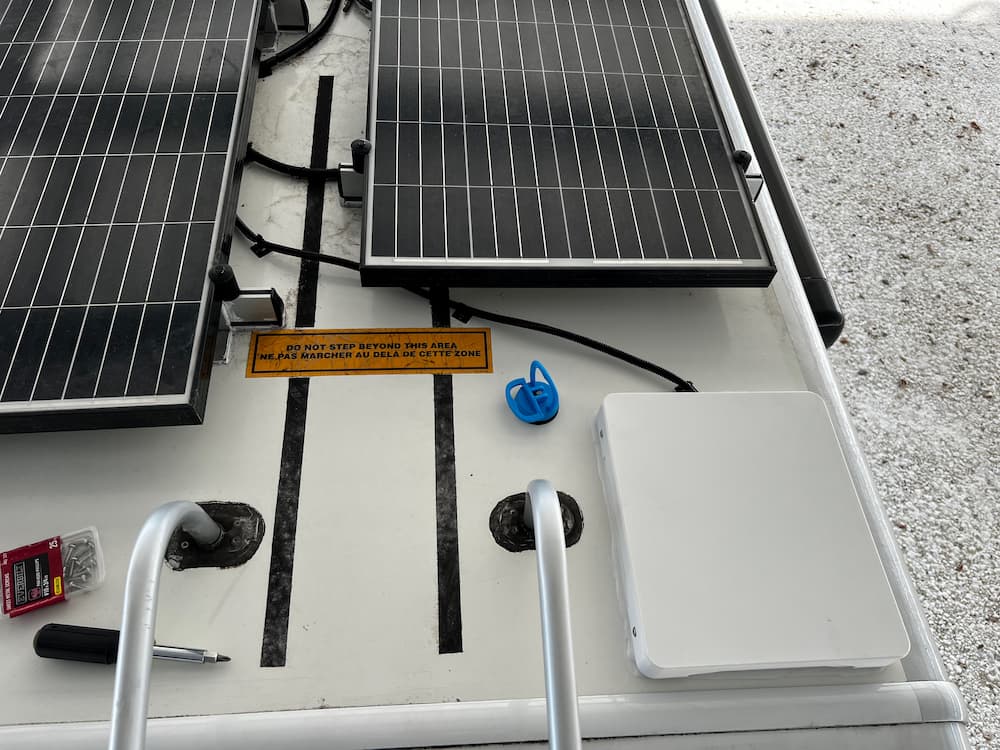
After that, it was just a question of attaching the mount to the roof. The one I bought off Etsy is unique in that the Starlink is fully enclosed and its (somewhat) easy to remove the Starlink if necessary.
One problem I faced is that my entire roof is full of obstructions. It didn’t seem to matter much in testing, and I eventually decided to put it right next to my ladder. One advantage here is that my roof is crowded and I can reach it even without stepping on the roof. The nearby obstructions and the ladder didn’t seem to matter in testing, but time will tell.
And a consideration for me is that I prefer to route my Starlink through my Pepwave Router. I would prefer to connect by RJ45. But that would take more time and I’d have to dig under my cellular antenna to get to the hole I drilled through my roof. So for now I will just connect to the Pepwave over Wifi. I probably won’t notice the speed difference. Connecting through my Pepwave makes it easier for everything in the RV to have a permanent connection. For example traveling on the east coast I don’t usually bother to turn on Starlink and keep it paused.
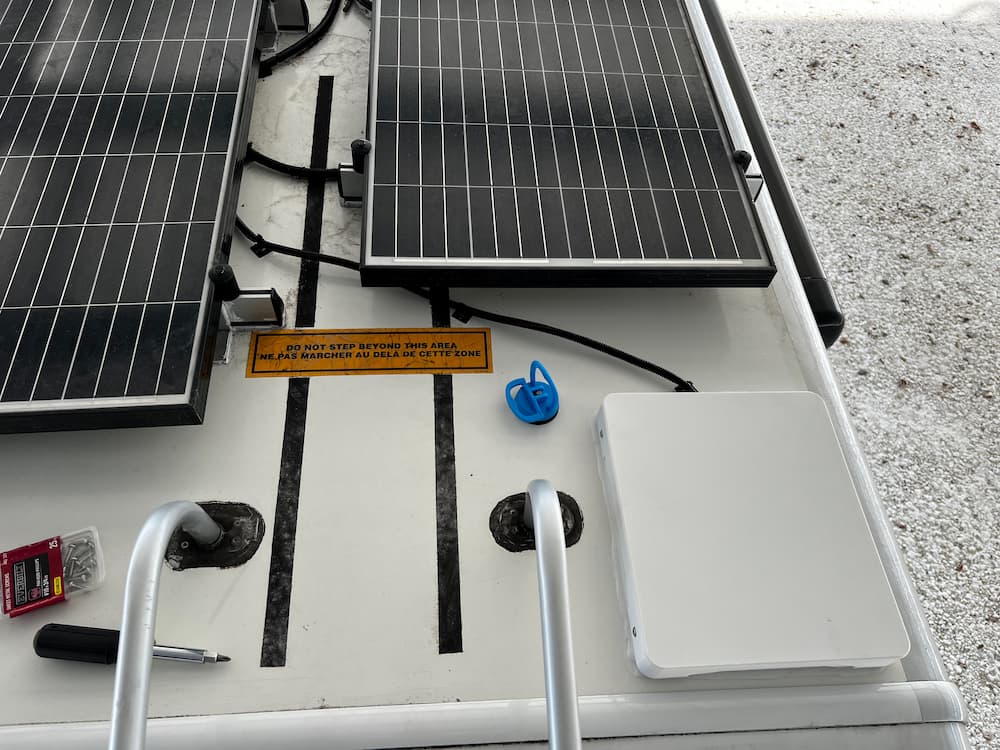
Here is the final result. I put 3M tape on the bottom and drizzled the perimeter with Dicor.

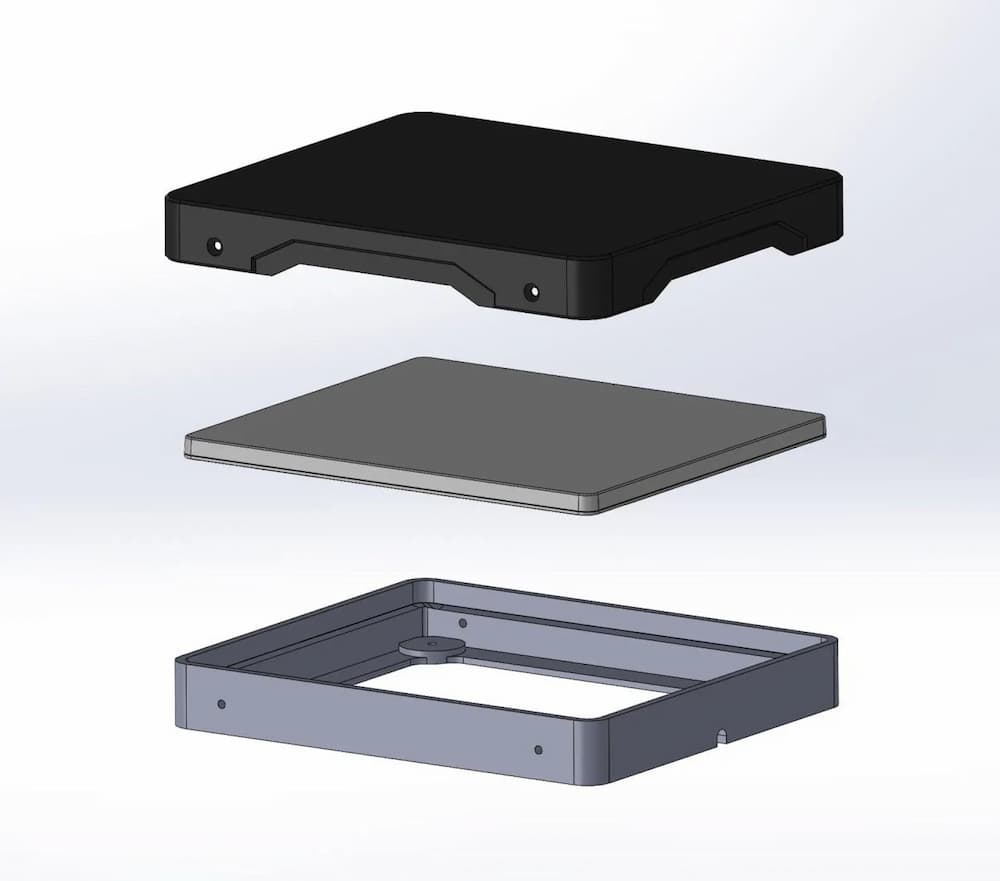
The Etsy mount is near perfect. It protects the Starlink from the elements and holds it securely. The cover is held down with 4 screws. The box is so tight that I needed suction cups (see below) to remove the Starlink from it easily. This is what the mount looks like:

I chose mine in white. In the diagram above you tape/glue only the bottom mount to your roof. The middle component is your Starlink Mini, and the top is the cover. So the mini is easily removable with 4 screws. The Etsy product link.
These are the rest of the products I used for the job, besides the Starlink itself. The short Starlink DC cable below was cut in half and connected to the Winegard wires on the roof. The UV wire loom protects the wires from the sun.


Leave a Reply