My RV came with a propane regulator (Fairview) known for early failures, and sure enough, like clockwork, it failed before 2 years passed.
The symptom was propane smell around the rear of the RV; but others report a reduced gas pressure as the first sign. Actually now that I think about it it may have been leaking for a long time. Whenever I open the rear compartment I would get a whiff of propane. I believed that to be from some small camping style propane cans stored there but I wonder now if mine has been venting since day 1.
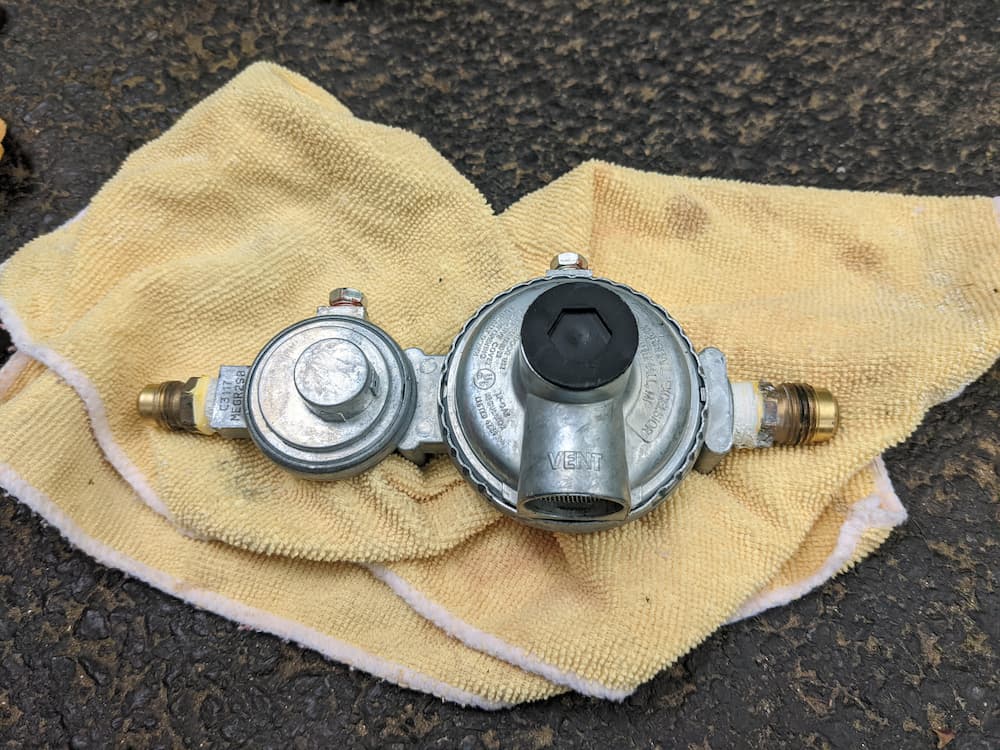
From searching the web apparently the “Marshall Excelsior (MEGR-298) Excela-Flo Two-Stage Compact Regulator” is considered the better replacement. They also make a 298H – high flow – but its unnecessary in my RV.
This is not a hard job but I’m not fond of crawling around under the RV, so I was glad to be able to do this in my driveway – not a campground or parking lot.
So for starters, here is what you are looking for.
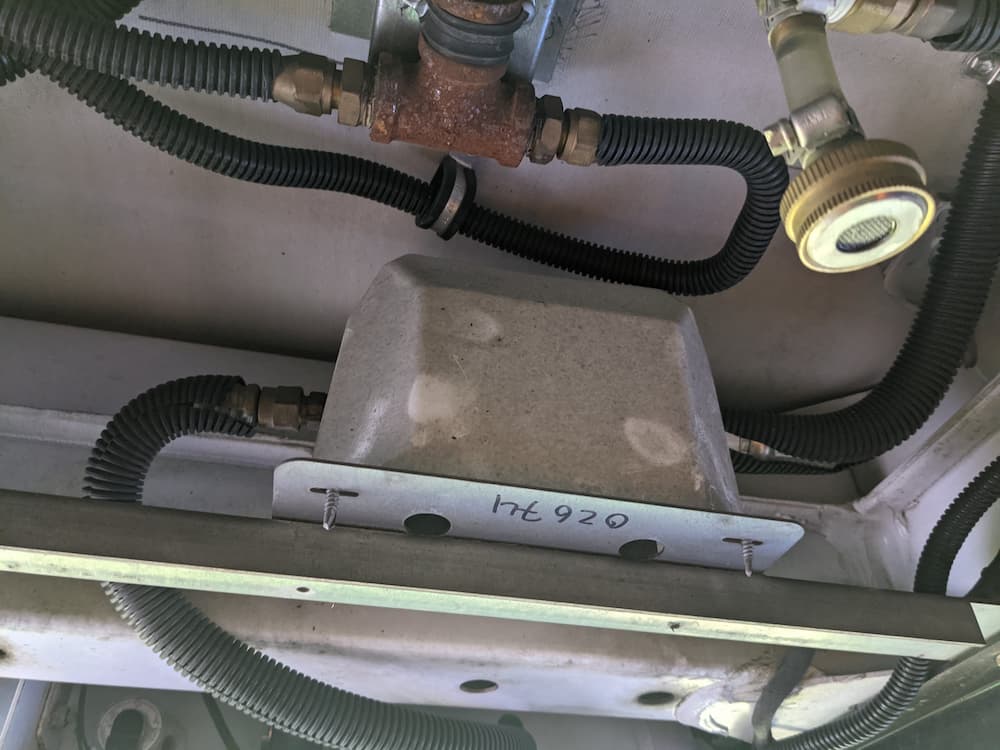
The left side goes directly to the propane tank solenoid and the right side is the output. On my RV screws used are almost always square head, so I had to use a small bit driver to remove the 2 visual screws on the front.
That revealed the old Fairview regulator when I tilted the plastic cover up. Before going further, be sure to manually turn off the valve at the propane tank and ALSO turn off the main battery switch. While the chance of the solenoid failing and self energizing while you are face to face with the freshly disconnected supply hose is less than remote, its always a good idea to check off every box you can!

That’s the culprit. To remove, don’t just grab a wrench and start turning the inner fitting. That will most likely rotate the hose with it, and put a lot of strain and possibly even damage it. So hold the inner fitting with one wrench and rotate the compression fitting instead. Incidentally, you’ll need SAE tools – not metric.
There were 3 additional screws on the bracket, and after removing them and the input hose I danged the assembly down to remove the 4 screws from the rear of the regulator and dismounted it.
Next I removed and salvaged the old propane fittings (slightly mangled as I originally tried to use a metric wrench on one of them). I cleaned them up a bit and mounted on the new regulator.
I used 4 or 5 wraps of yellow gas tape AND a brush on gas fitting paste. I was told by a professional gas fitter that he always uses both, especially on old fittings for the best success rate.
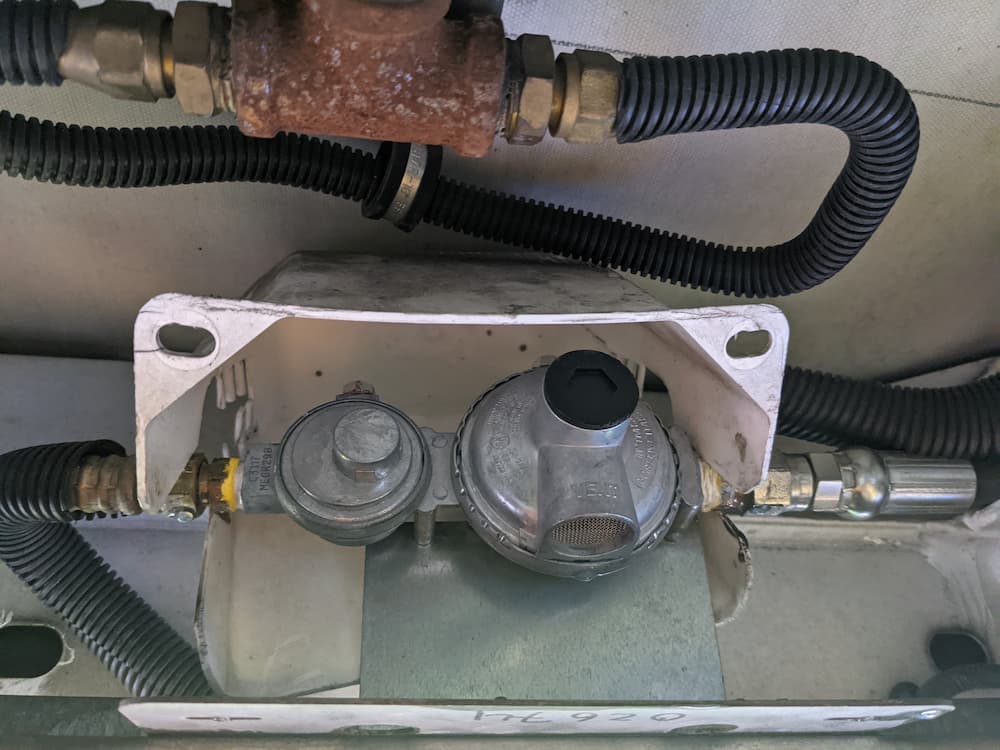
And lastly installed it, tightening as hard as I could within reason.
After I installed and turned on the propane I applied leak detector bubbles as a safeguard. I initially did not see any leaks, so for extra measure I used a propane detector which DID reveal a small leak. (Sometimes with soap bubbles you don’t see the leak because you can’t see 360 degrees on the fitting.)
More tightening, and everything was secured. The last step was to just pull down and screw in the cover box.
Next I ran the stove for a bit to clean out the lines, and then ran the generator and hot water heater at the same time to test.
I COULD have tested the pressure, as this is adjustable, only the manometer I rigged up to test on the barbecue line didn’t seem to work properly, so I haven’t yet. Supposedly they are factory calibrated, but I do want to actually measure the pressure soon.
Its not a hard project, but not particularly fun either. So far no leaks or explosions. We’ll see how long this new one lasts but according to the internet its a lot better brand.
I’ve linked below some stuff useful for this job besides the regulator itself. I immediately purchased a second regulator so I can carry spare.
(Links are paid)
Leave a Reply