UPDATE 21-Feb-2021 The Cradlepoint worked well but I put in a new router and antenna. This article is still mostly relevant for drilling the roof and installing in general.
We travel in our RV to get away from the city, and enjoy remote places. That said, I have a job, and I need to be in contact in case of emergencies. Having Internet everywhere enables me to travel more than I otherwise could enjoy.
So as much as possible, I want Internet everywhere. I even have a satellite phone onboard. Its not a good solution though. The costs are horrendous and the data rate is something like 59kb. You can send a few messages if you are lucky, or read an email. That’s about it.
So first I tried the weboost experiment, and it didn’t really pan out for me.
It boosted the signal all right, but did not result in a usable increase in data bandwidth. I might never have realized this, but when I tried to measure the performance of various antenna alternatives I discovered none of them seemed to do much for me, unless you count the joy of having more “bars” (while actually still having no signal).
It seems to me that the weBoost works strongest for voice and maybe 3G signals, which end this year anyway. Although there are a lot of claims of increased LTE performance too, I was not able to replicate that. (Its possible that with the large “OTR” antenna mounted high up I might have had somewhat better results.)
I really need to have Internet when I travel, so on to plan “B”.
I started experimenting with “Mimo” antennas, which is simply an external LTE pair of antennas that you connect to a router or a hotspot.
I started with a Verizon 7730 hotspot which I already had, and an LTE antenna by AntennasPlus.
That seems to work a little. I got some dramatic increase in UPLOAD speed in a rural area, which can be useful, because if you can’t send anything you can’t receive either.
Still I wanted more.
I wanted the mother of all RV Internet. Most of the serious technical discussions on the internet center around using a router and an external antenna.
So with a gasp I ordered the Cradlepoint IBR900, a dual sim mobile LTE router which sells for a whopping $850 on Amazon. (Sounds high, but hey, my phone costs that much)
Next I outfitted it with both Verizon “unlimited” and AT&T “unlimited” sims. There are going to be places that only have one or the other.
And finally the MobileMark roof antenna. I opted to get the magnetic version (that goes on a steel disk) as its easier to replace and I want to share the hole I’ll have to drill with a Sirius antenna.
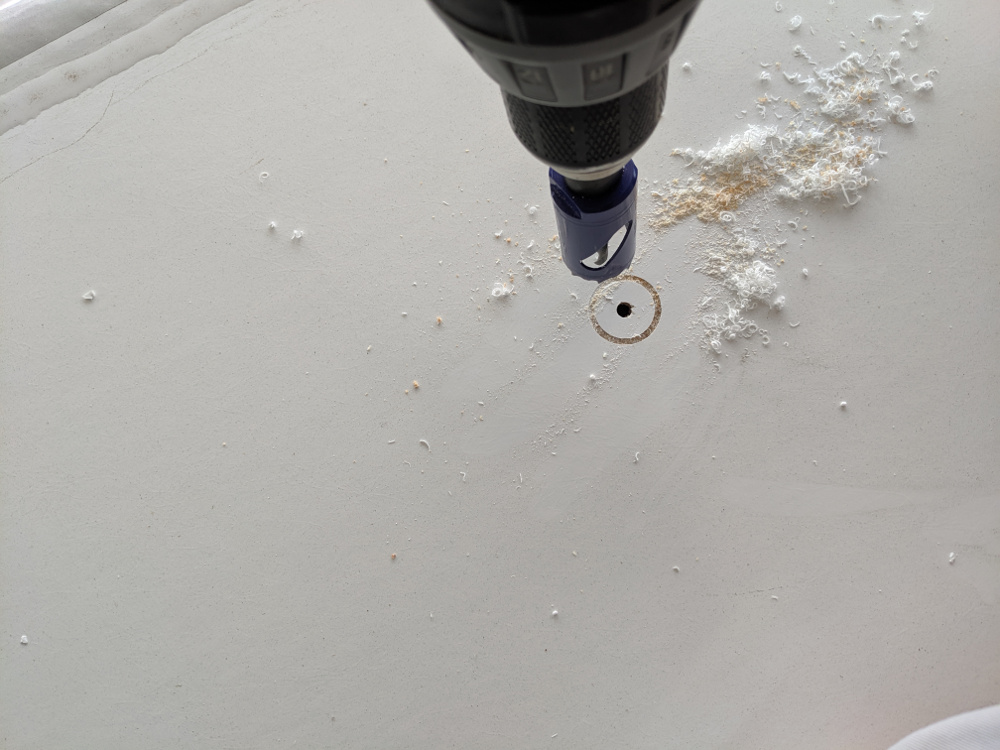
It turns out the roof drilling part was not as scary as it seems. I just cut a little hole in the ceiling with a knife, and started drilling with a 1 1/8″ bit. The reason for the large hole was to shove a 1″PVC pipe down the hole. I started upwards from inside as I wanted that precise but did not care if I was an inch or so off on the roof.
One the leader drill went through, I finished topside. The actual final drilling was a piece of cake:
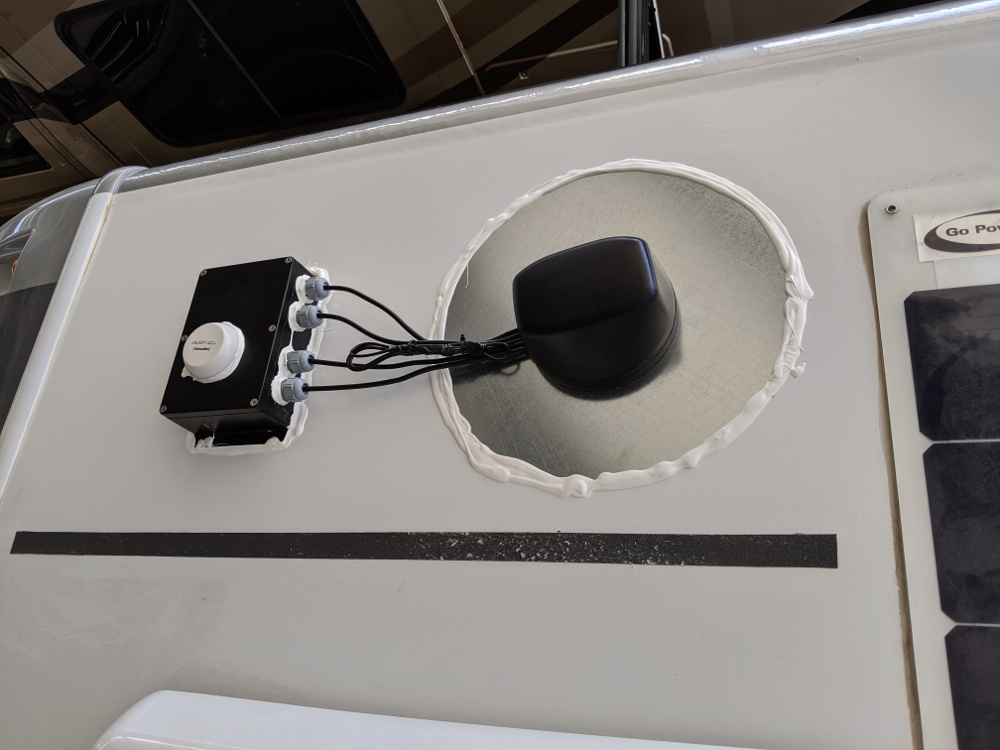
Here is a completed view of the whole project:
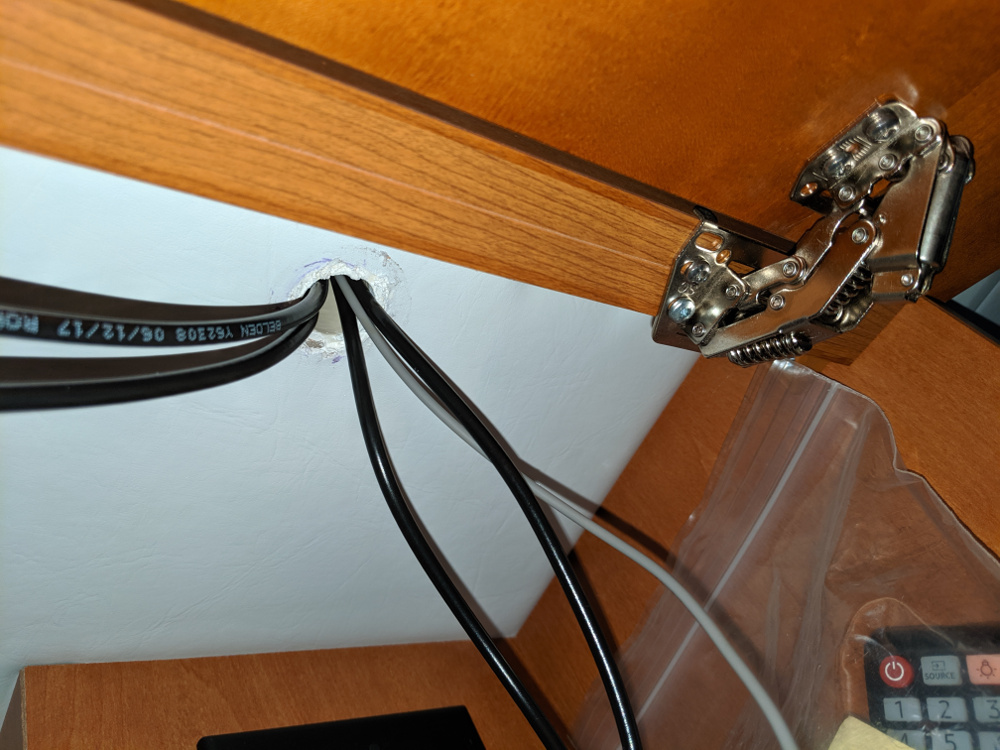
I would like to find some sort of grommet or something for the inside hole, which is drilled in my entertainment center above the TV. You can’t see the hole unless you stick your head in the cabinet and look up. But since its a standard 1″ PVC pipe I should be able to find something to make it look finished:
What I ended up doing was, using a very high quality Bud Industries aluminum powder coated box. I used cable glands by McMaster-Carr.
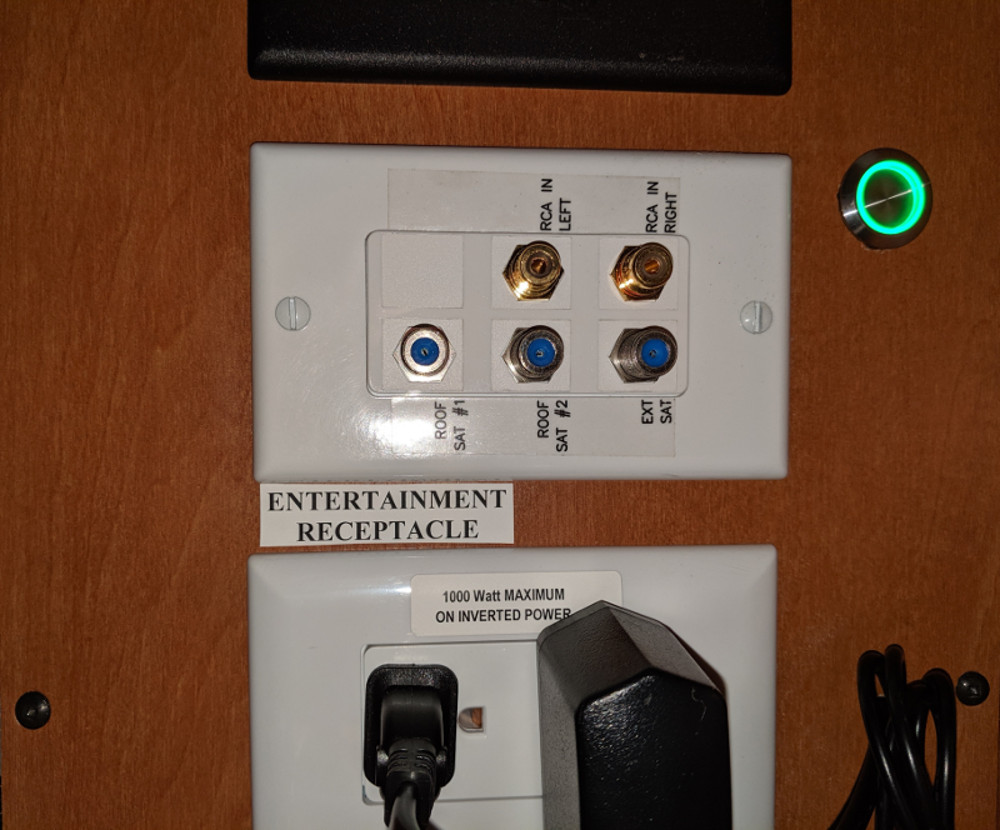
The router is housed in my entertainment compartment on top of the BluRay. I mounted a little lighted switch and pigtailed it off the 12 volt wiring for the Winegard 2.0 which I have never used and am not very likely to now. The green button switch below quickly tells me the Internet is “on”.
As a side project I mounted a marine Sirius antenna on the box for my Pioneer dash radio I previously installed. Finally I purchased a galvanized 13″ metal disk off ebay.
The box is secured by VHB tape. The disk is secured by nothing – just a bead of Dicor. Folks say that’s all that is needed – we’ll see!
So far I am pleased with the results. Note that a lot of the time, I don’t get much better reception than a top quality phone. That is somewhat expected. I am taking a cross country trip in a month which will allow me to really test it better in poor signal conditions.
So far in a couple of semi-rural areas I got better bandwidth than my phone in areas with crappy signal, as measured by the speedtest.net app.
The cradlepoint router is definitely not for the tech-scared. Its cumbersome to set up, although not a lot worse than older home routers. The dual sim feature will enable me to switch to AT&T if Verizon is a no-go. That takes a LONG time to switch – like several minutes – but is fine for my application.
The small wire bundle in the picture is because I decided not to connect the gps cable since I have no real use for it.
Here are a couple tips I added after having this for a month. First, every time you open the sim tray you risk losing the tiny screws. I would suggest surgical garb and a clean room. If you do loose one, there is a replacement bag of 2 buried in the bottom of the box that you would never find unless you read this article.
Second, I spent 2 days in network hell with mine watching it randomly crash after a while.
Eventually I realized it only happened on AT&T, and a call to tech support got it fixed. Turns out there is a known firmware bug – just turn off carrier aggregation, which is under advanced setting in the modem setup.
Here are all the parts off Amazon:
(Paid Links)


Leave a Reply